This past week our sweet niece turned one-year old! It is amazing how quickly the time flies. My sister in law asked if I would make some cake pops for the party. I said yes.
Note- I have only made cake pops once before, and they looked terrible. Tasted great, but looked nasty. I was determined not to let that happen this time.
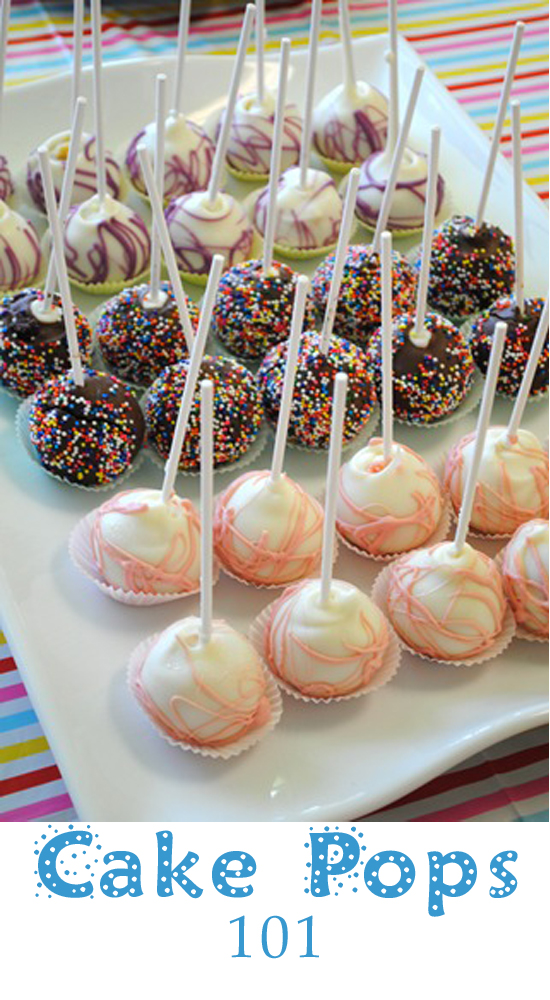
It took me hours, and hour and hours, but I made nearly 100 cake pops, and compared to my last attempt they look pretty darn good, if I don’t say so myself!
First: the pots:
The pots were really easy to make. They are 5” tara cotta pots from Michaels Craft Store. I spray painted them a pastel pink, and once they were dry I used some Modge Podge and glued on some confetti circles. (Clearanced out at Wal-mart right after Easter.)
The pops are staying in place with some long grain white rice.
Second: The Cake Pops
I did three different flavors.
1) Double Chocolate
2) Strawberry Cream cheese
3) Lemon Vanilla.
My tips:
- The balls have to be nearly frozen, before dipping!!! Otherwise I found that either the stick did not stay in, or the chocolate coating looked lumpy. If you dip them while they are frozen, you have just enough time to tap off any extra chocolate coating before the chocolate forms a glossy, even, hard shell on the outside.
- You will go through a lot more bags of Candy Melts than you planned on
- Give yourself a cushion of a few hours when making these. Especially if you have a wild toddler on hand to “help” you.
How I formed the cake balls:
- Make your dough
- I used a large cookie scoop and plopped each ball down on a pan that fit in our deep freezer. I covered the pan and put the balls in just long enough for them to be past chilled, but not frozen solid.
- I then rolled them into balls
- Melt a few of your candy melts. Dip the stick into the chocolate and then into your Cake Pop.
- FREEZE your pops. like 30 minutes to an hour in the deep freezer
- Melt a whole bag of chocolate. You want enough so that when you dip the cake pop into the chocolate you will be able to completely cover the ball. No spooning of the melted chocolate required.
- Tap of any extra chocolate, while rotating the pop so you do not get “lumps”
- Put the stick in a large foam block.
- Freeze again. (But it only takes a few minutes, if that. Since the pops are already frozen)
- You can then melt any other color chocolate you’d like, and decorate the pops.
NOTE: If you want to have them covered in sprinkles, you have to work REALLY FAST, because the chocolate hardens within seconds since the pops are so cold.
So, it was a lot of work, but people said they tasted great, and looked great as well. Anyone else make cake pops? Any other tips out there?


These look amazing!! Seriously i love them 🙂 We tried making cake pops a while back for my best friends bridal shower and figured out a lot of those tips the hard way lol. The freezing with the sticks in was definitely the most helpful!
Thank you so much! Once Greyson went to bed, I definitely found my “grove” and started cranking them out much quicker. I hope to try some different flavors for our next family get-together.