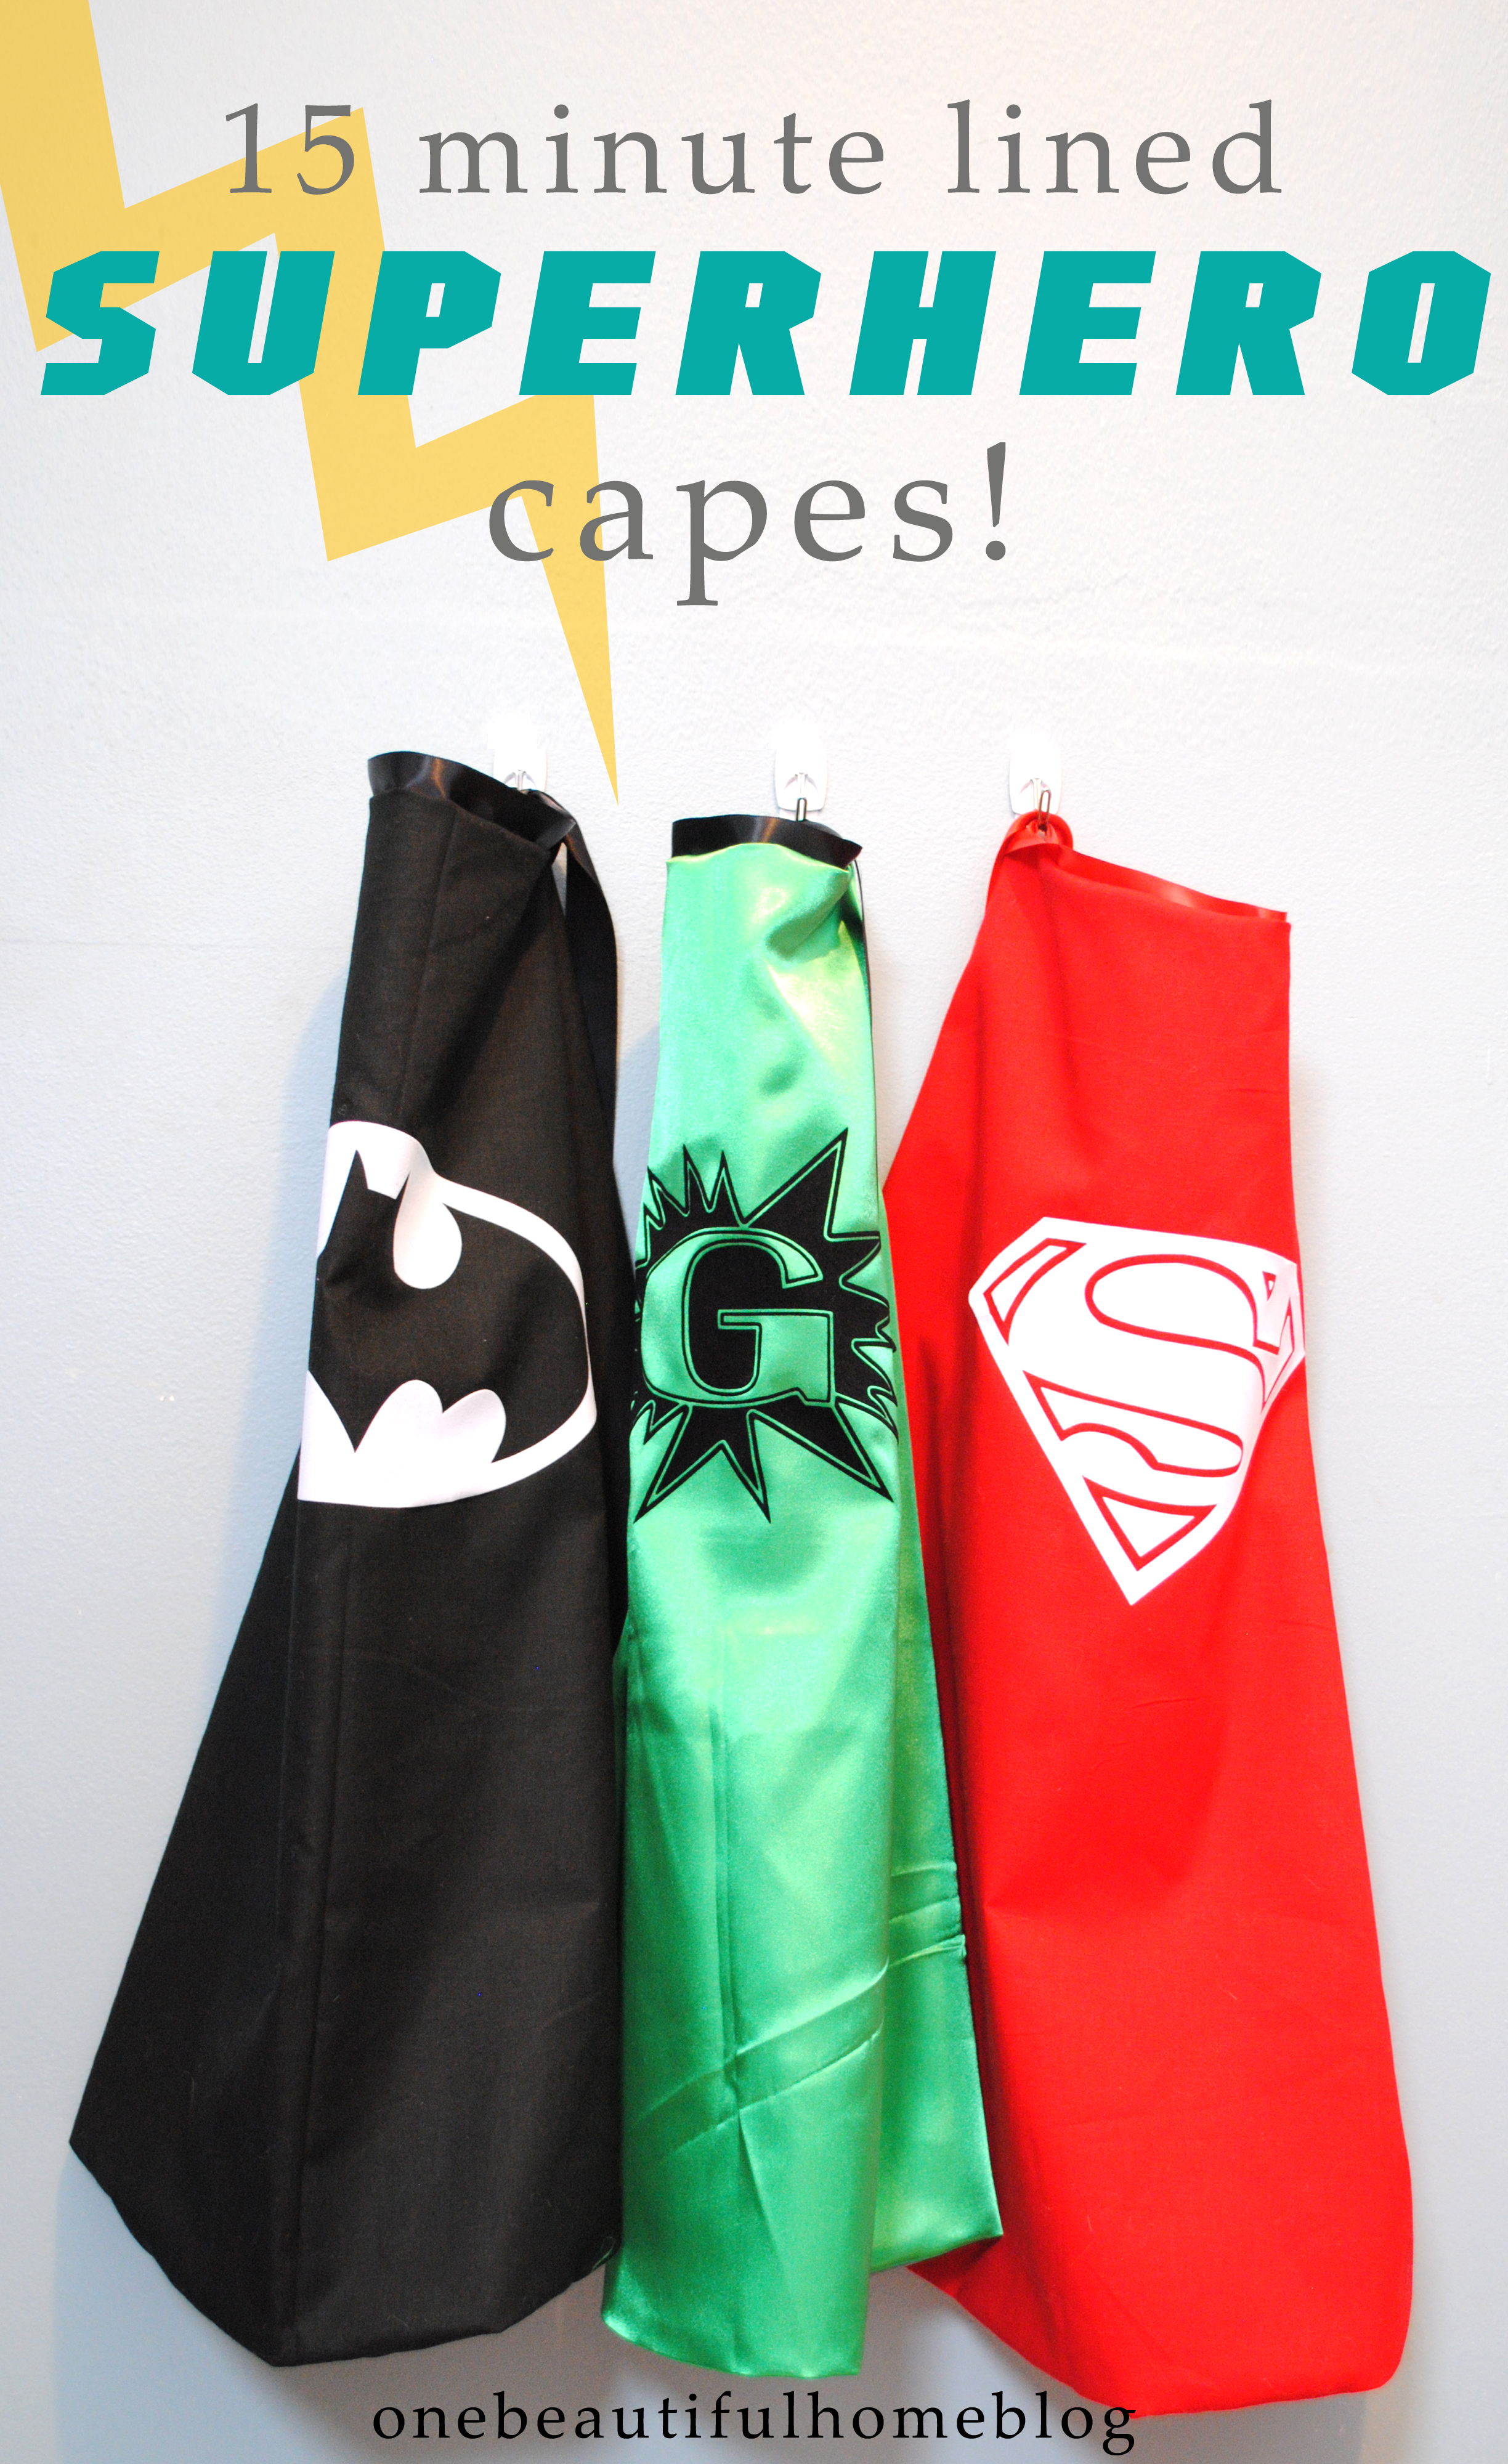
Last week I woke up one morning and thought it would be fun to make Greyson some superhero capes. He is really into the whole superhero thing lately, and the day before he walked around with a blanket tied like a cape for the better part of the day.
So I did a little googling, and found what seemed to be the perfect FREE PDF template from Vanilla Joy. We got ready and took the 45 minute drive to Jo Ann Fabrics (Have I mentioned that we live in the middle of no where?!). I got enough to make three different superhero capes. I picked up a linen/cotton fabric for the outside, and two silk yards for the liner. The other liner I used was a suit pant liner.
I would label myself as a beginner sewer. I have been sewing since I was a little girl, but everything is VERY basic. I do not sew anything fancy. So I’ve never really expanded my skill set when it comes to the sewing machine. So when I said I was going to line the superhero capes I was afraid I was getting in over my head. BUT I wasn’t joking, I seriously had these done in 15 minutes each!! They were so easy!
So here are my “tricks”
- I do not use scissors to cut around my template! No way. Instead grab yourself a cutting mat and rotary cutter! They are life changing.
- My biggest obstacle when sewing from scratch (meaning not altering a shirt, but creating one) is getting the pieces of fabric to line up. They NEVER EVER match. I could spend an hour cutting out two rectangles, but one corner will always be off. Then after putting a million pins in the rectangles and sewing it, the fabric will magically shift and I will now have three corners not lined up. This was enough of a frustration for me to pack my sewing machine away for a long time. BUT I got smart!! Here is what I do now:
Step 1:
cut out the silk fabric (with my rotary cutter) to the correct size using the pattern from vanilla joy. The reason I chose the silk fabric is because it was the most expensive. I wanted to try and waste the least amount of that fabric. It really does not matter what fabric you use for this step.
Step 2:
I then laid the pattern on top of the linen/cotton fabric and cut around the pattern giving myself about 1/5 and inch or so of wiggle room! I just wanted the general shape.
Step 3:
Pin the two pieces of fabric together (right sides together) and then sew! *Remember to leave a small opening so you can turn it right side out, in a few steps
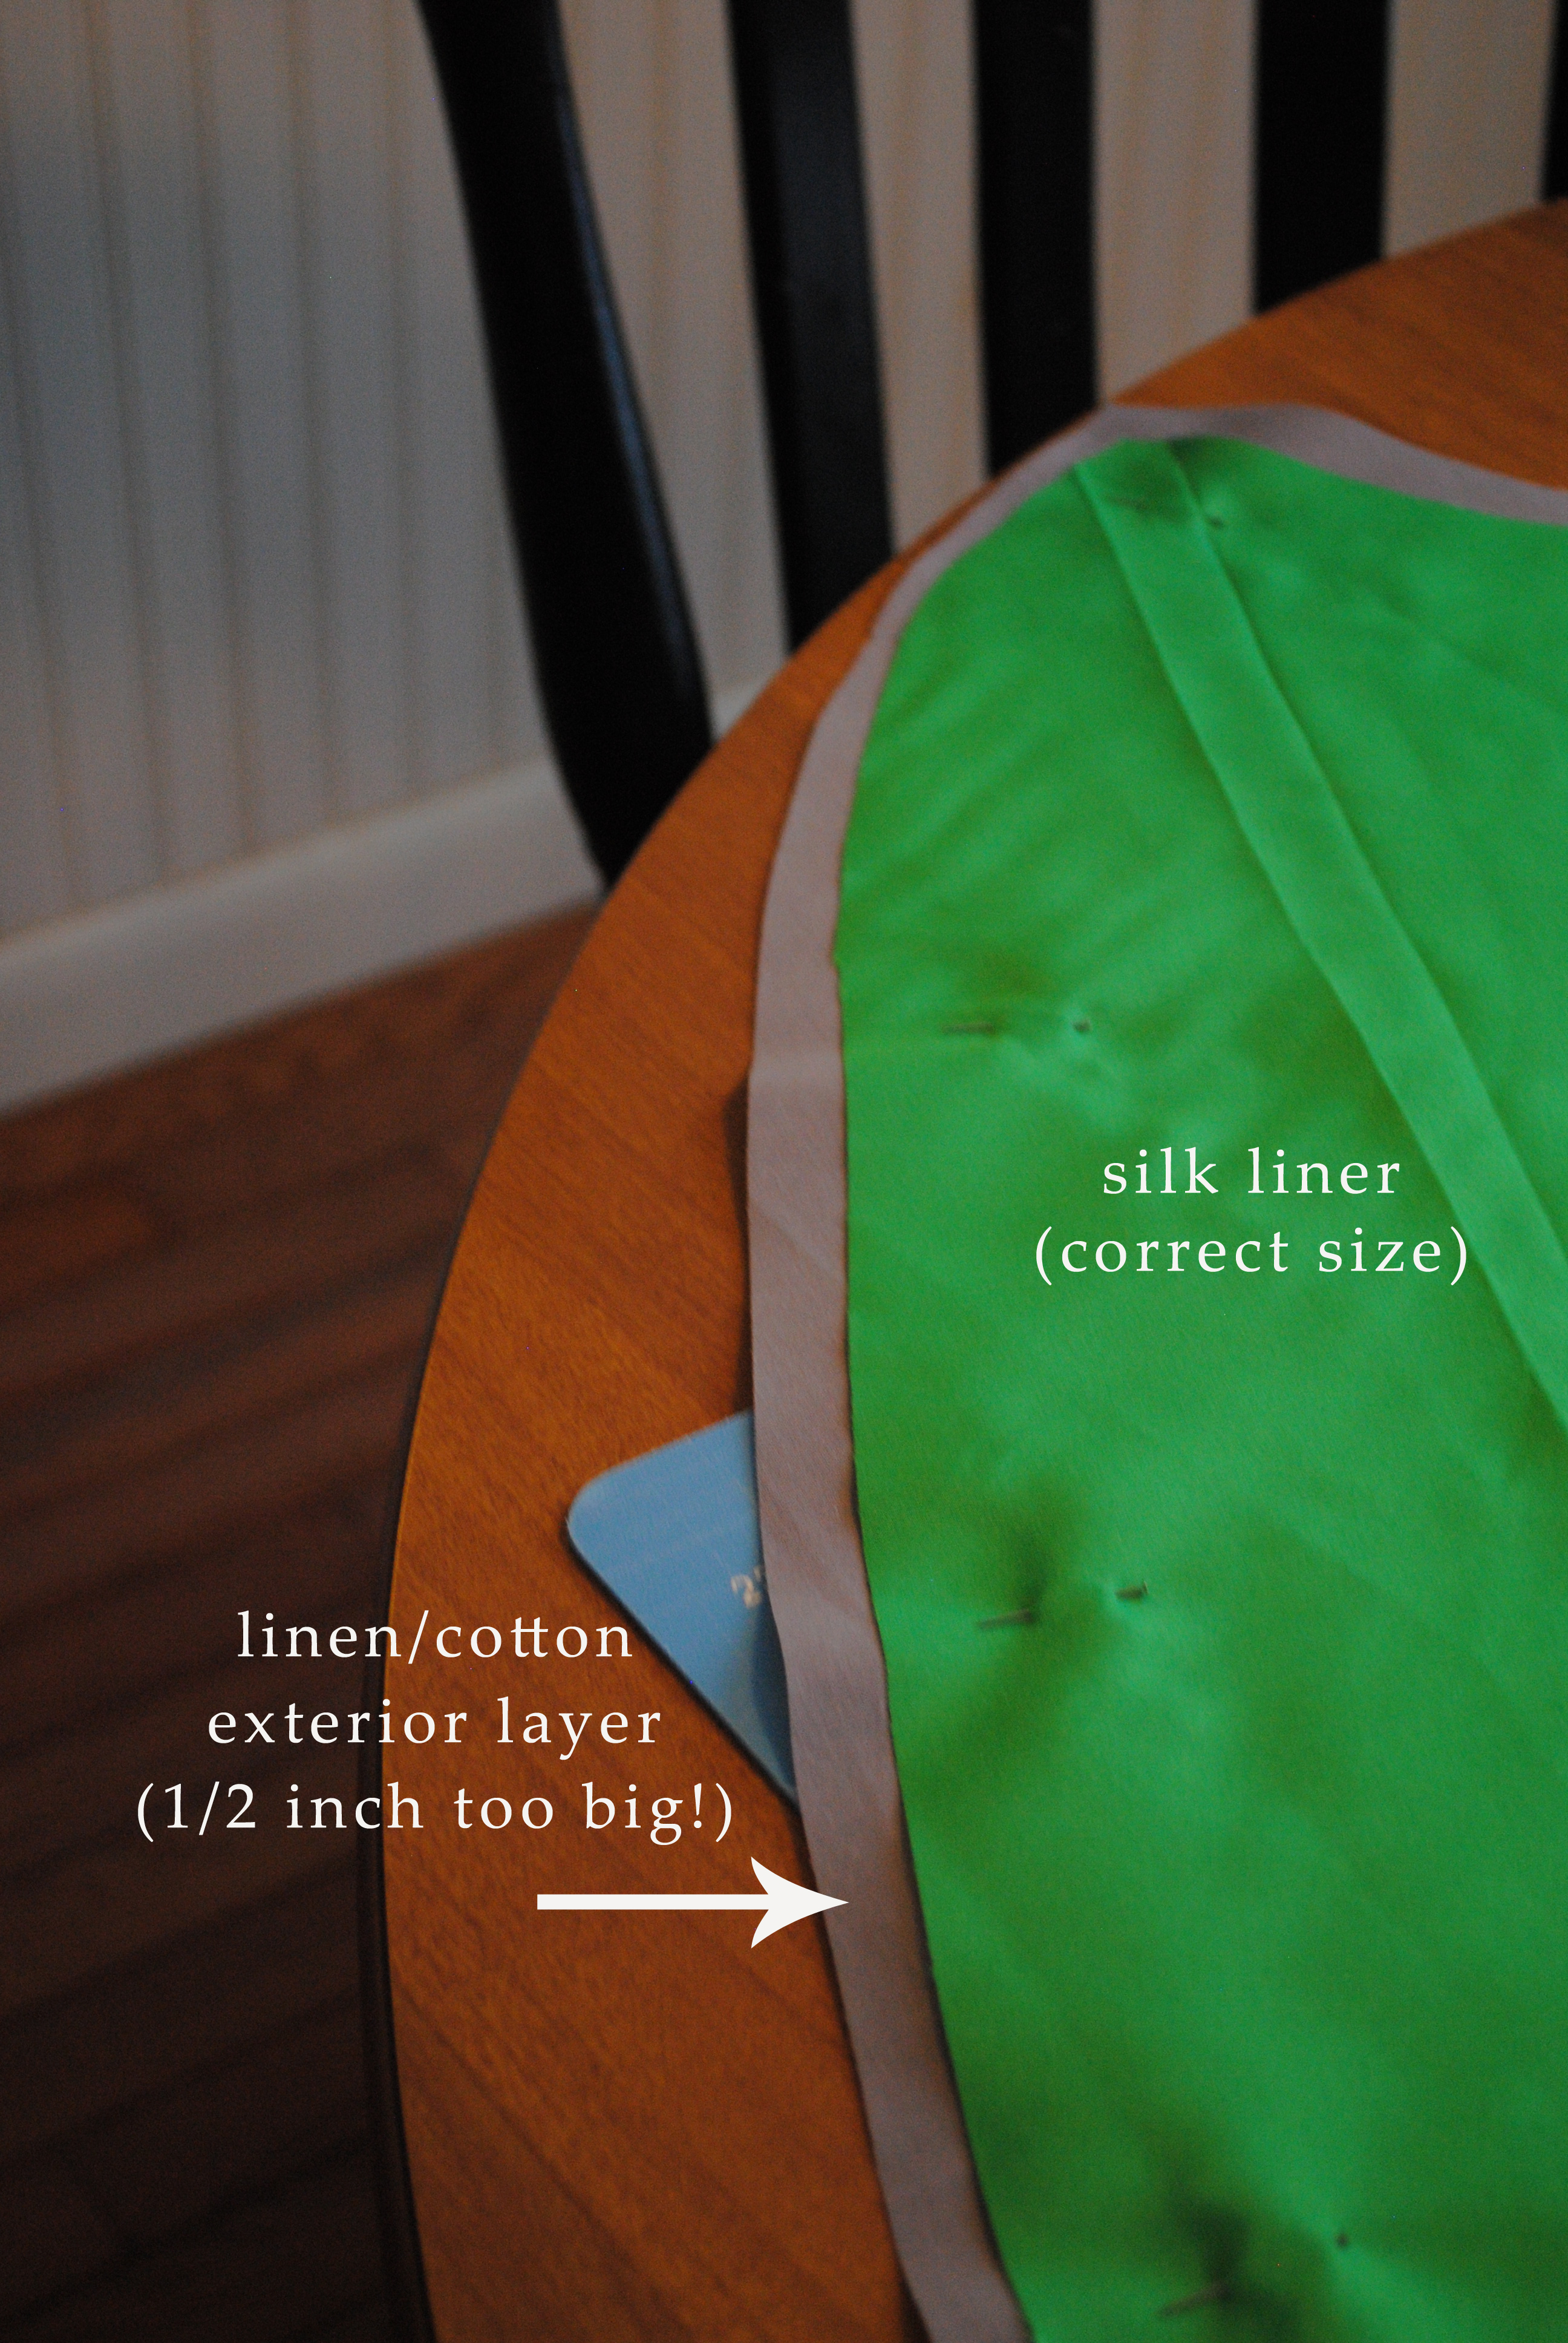
Step 4:
Trim the excess linen/cotton fabric to match your silk liner. By making it larger then the other piece you do not have to worry about perfectly matching up your corners or curves! It gives you some wiggle room!
Step 5:
Turn it right side out, and then press your seams. I have also found that by pressing (ironing) your seams it really takes the look of the pieces up a billion or so notches!
Once that was all said and done I grabbed my silhouette machine and some flocked heat transfer material to cut out the batman and superman logos (?) what are they? And, then simply ironed them on!

![]()
When Scott got home he hopped on the computer for me and made the special logo just for Greyson. I think it is fun that he has his own superhero cape! Greyson thinks it is pretty neat too.
Here they are:
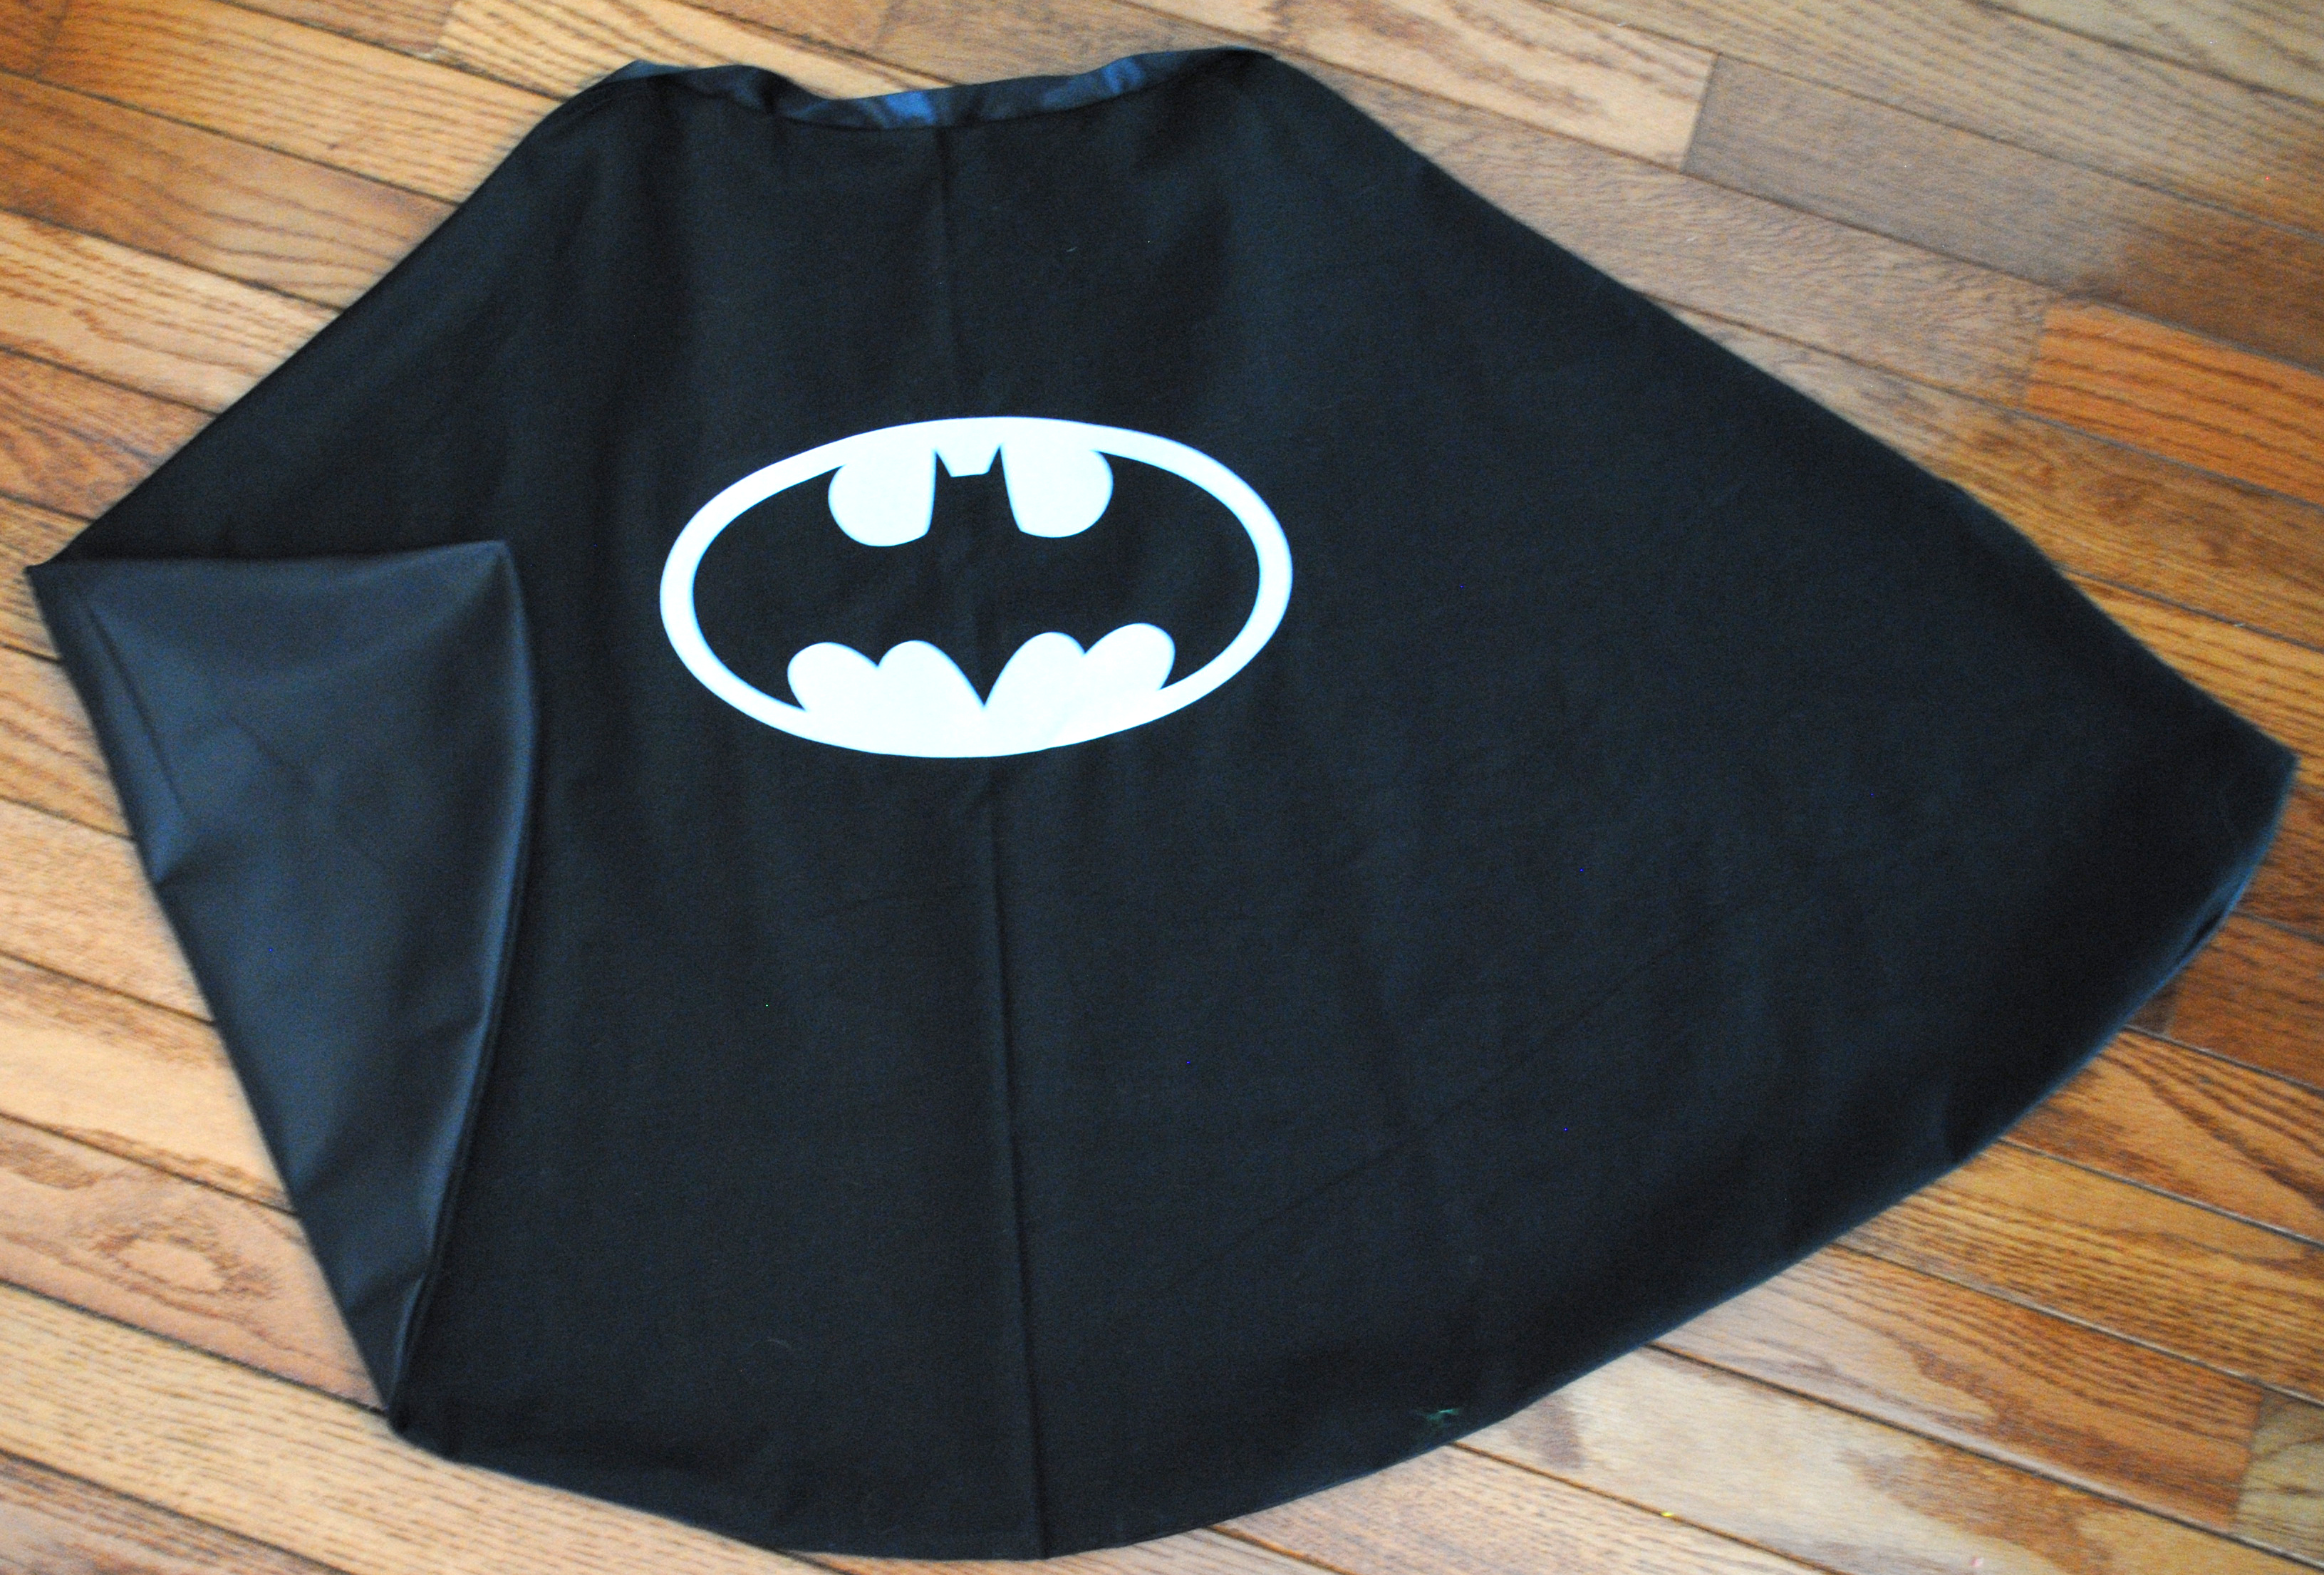 Batman
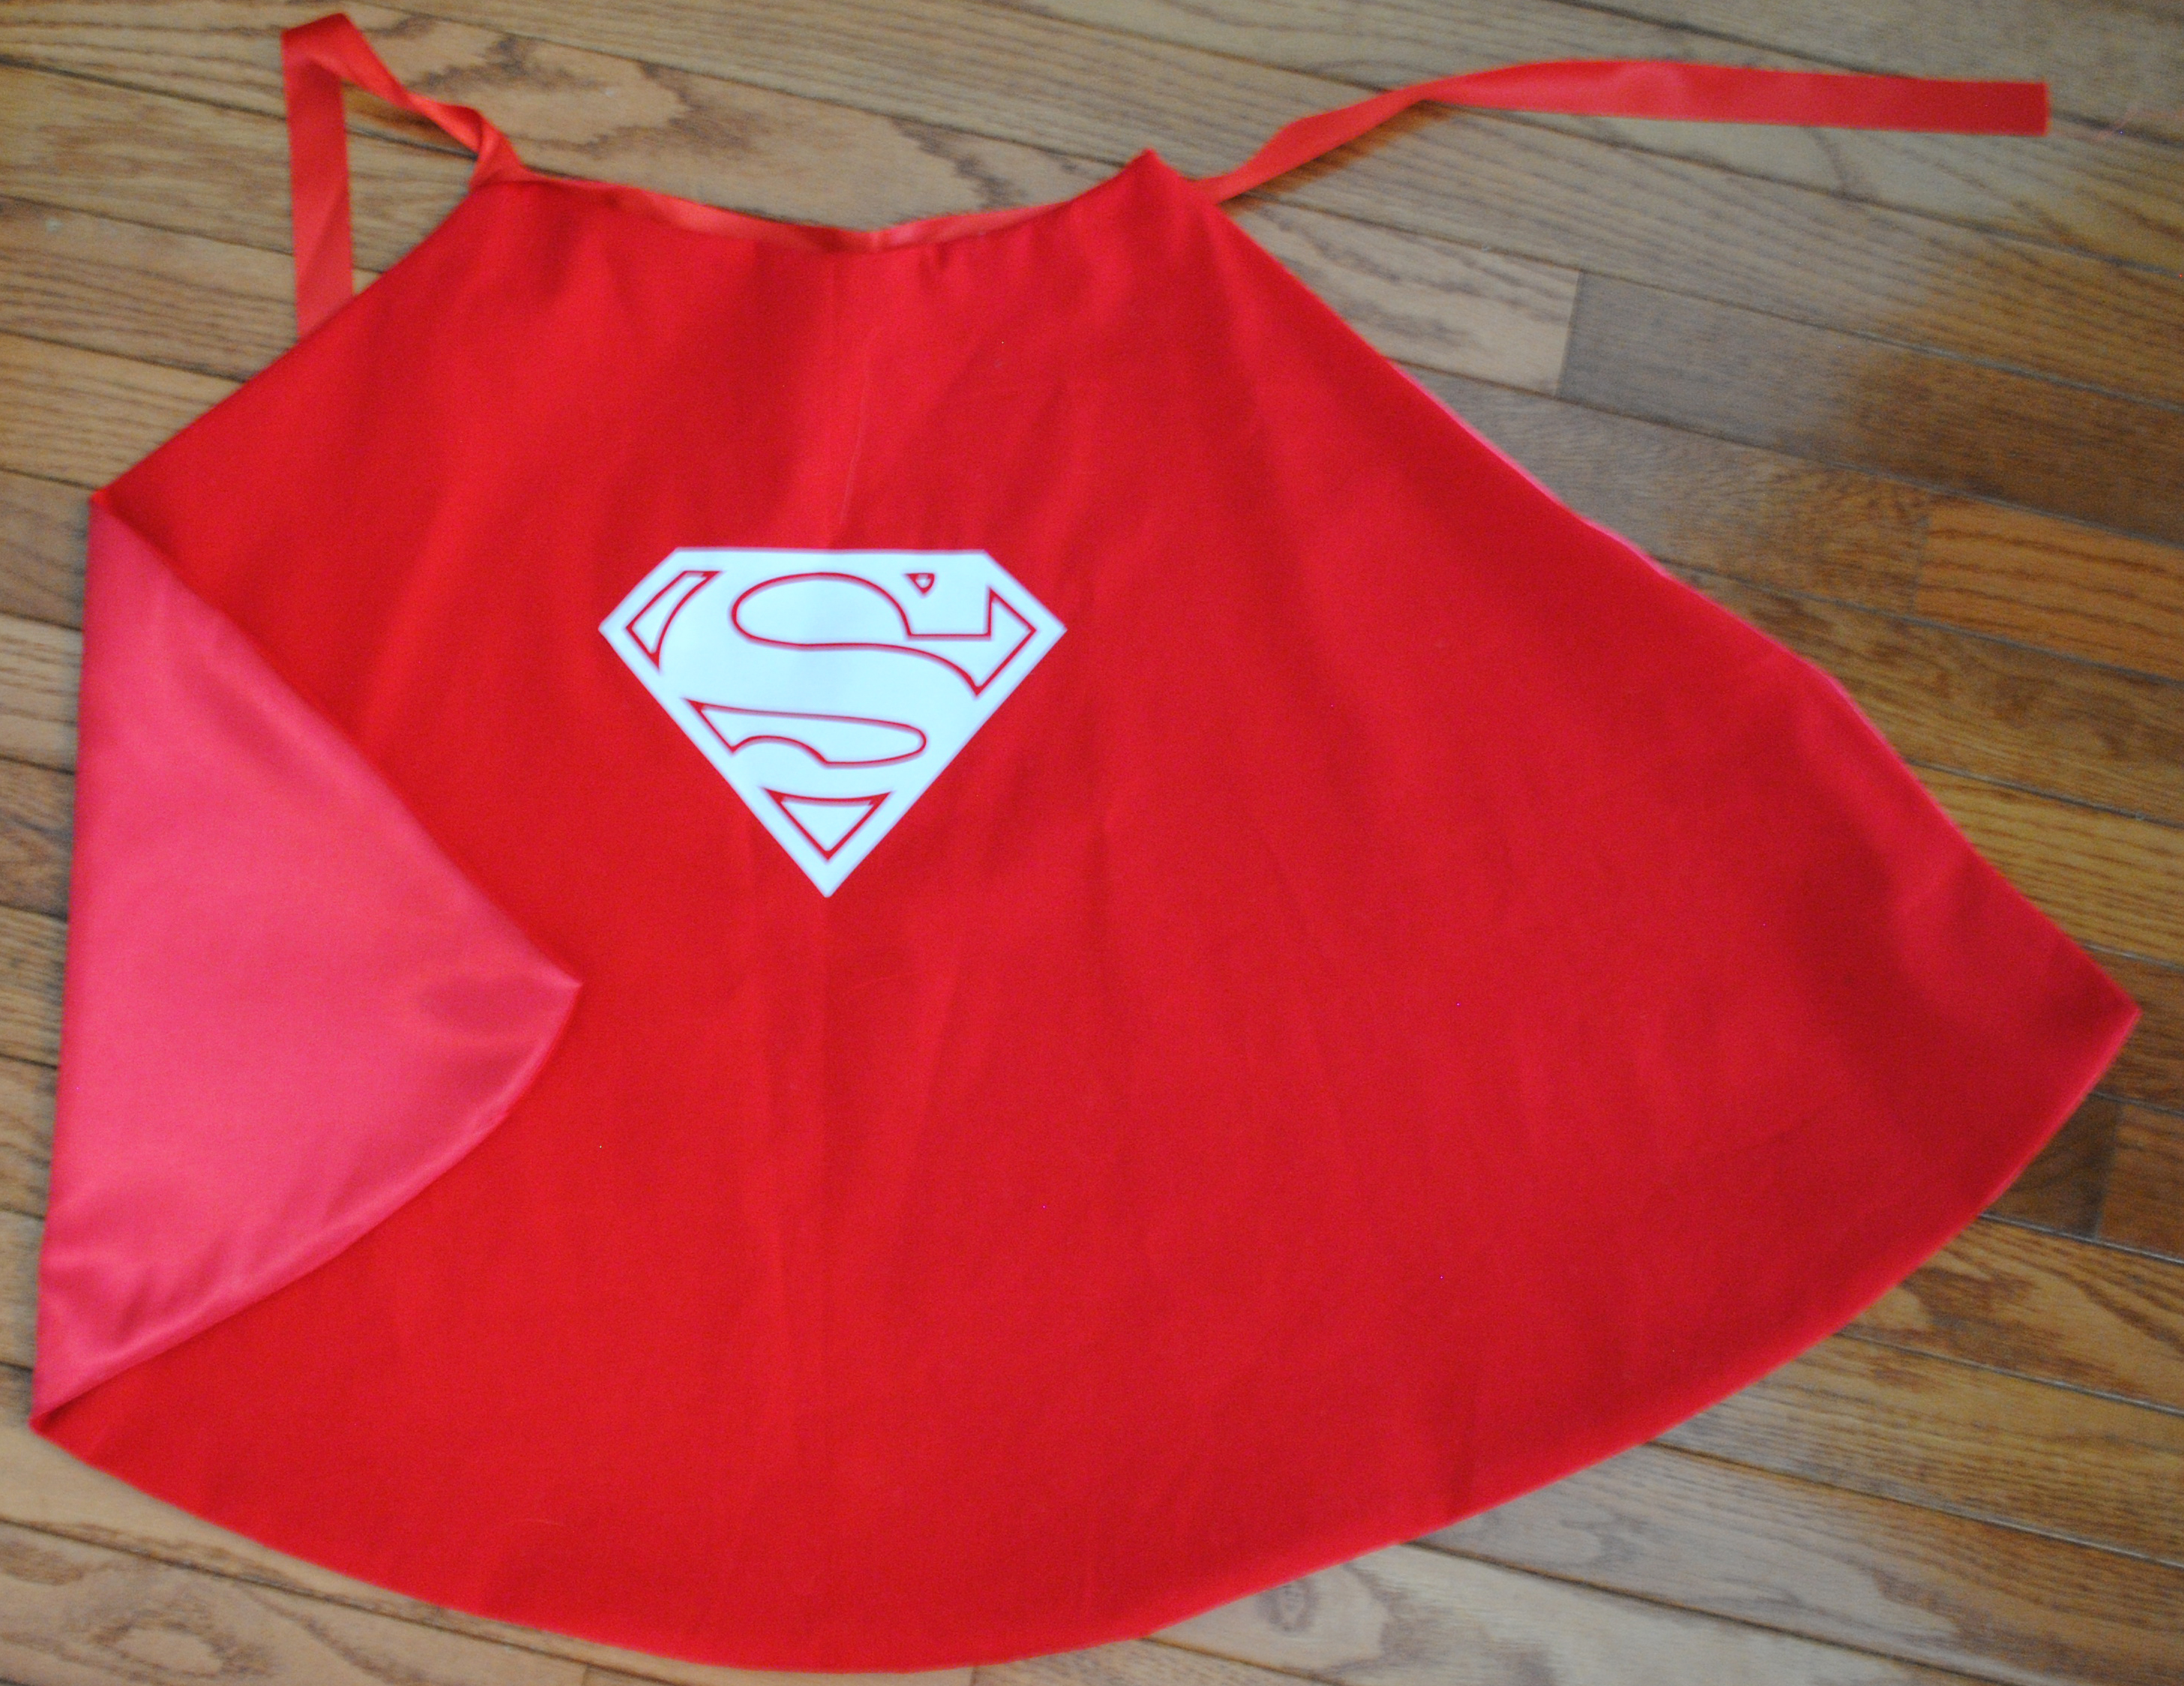 Superman
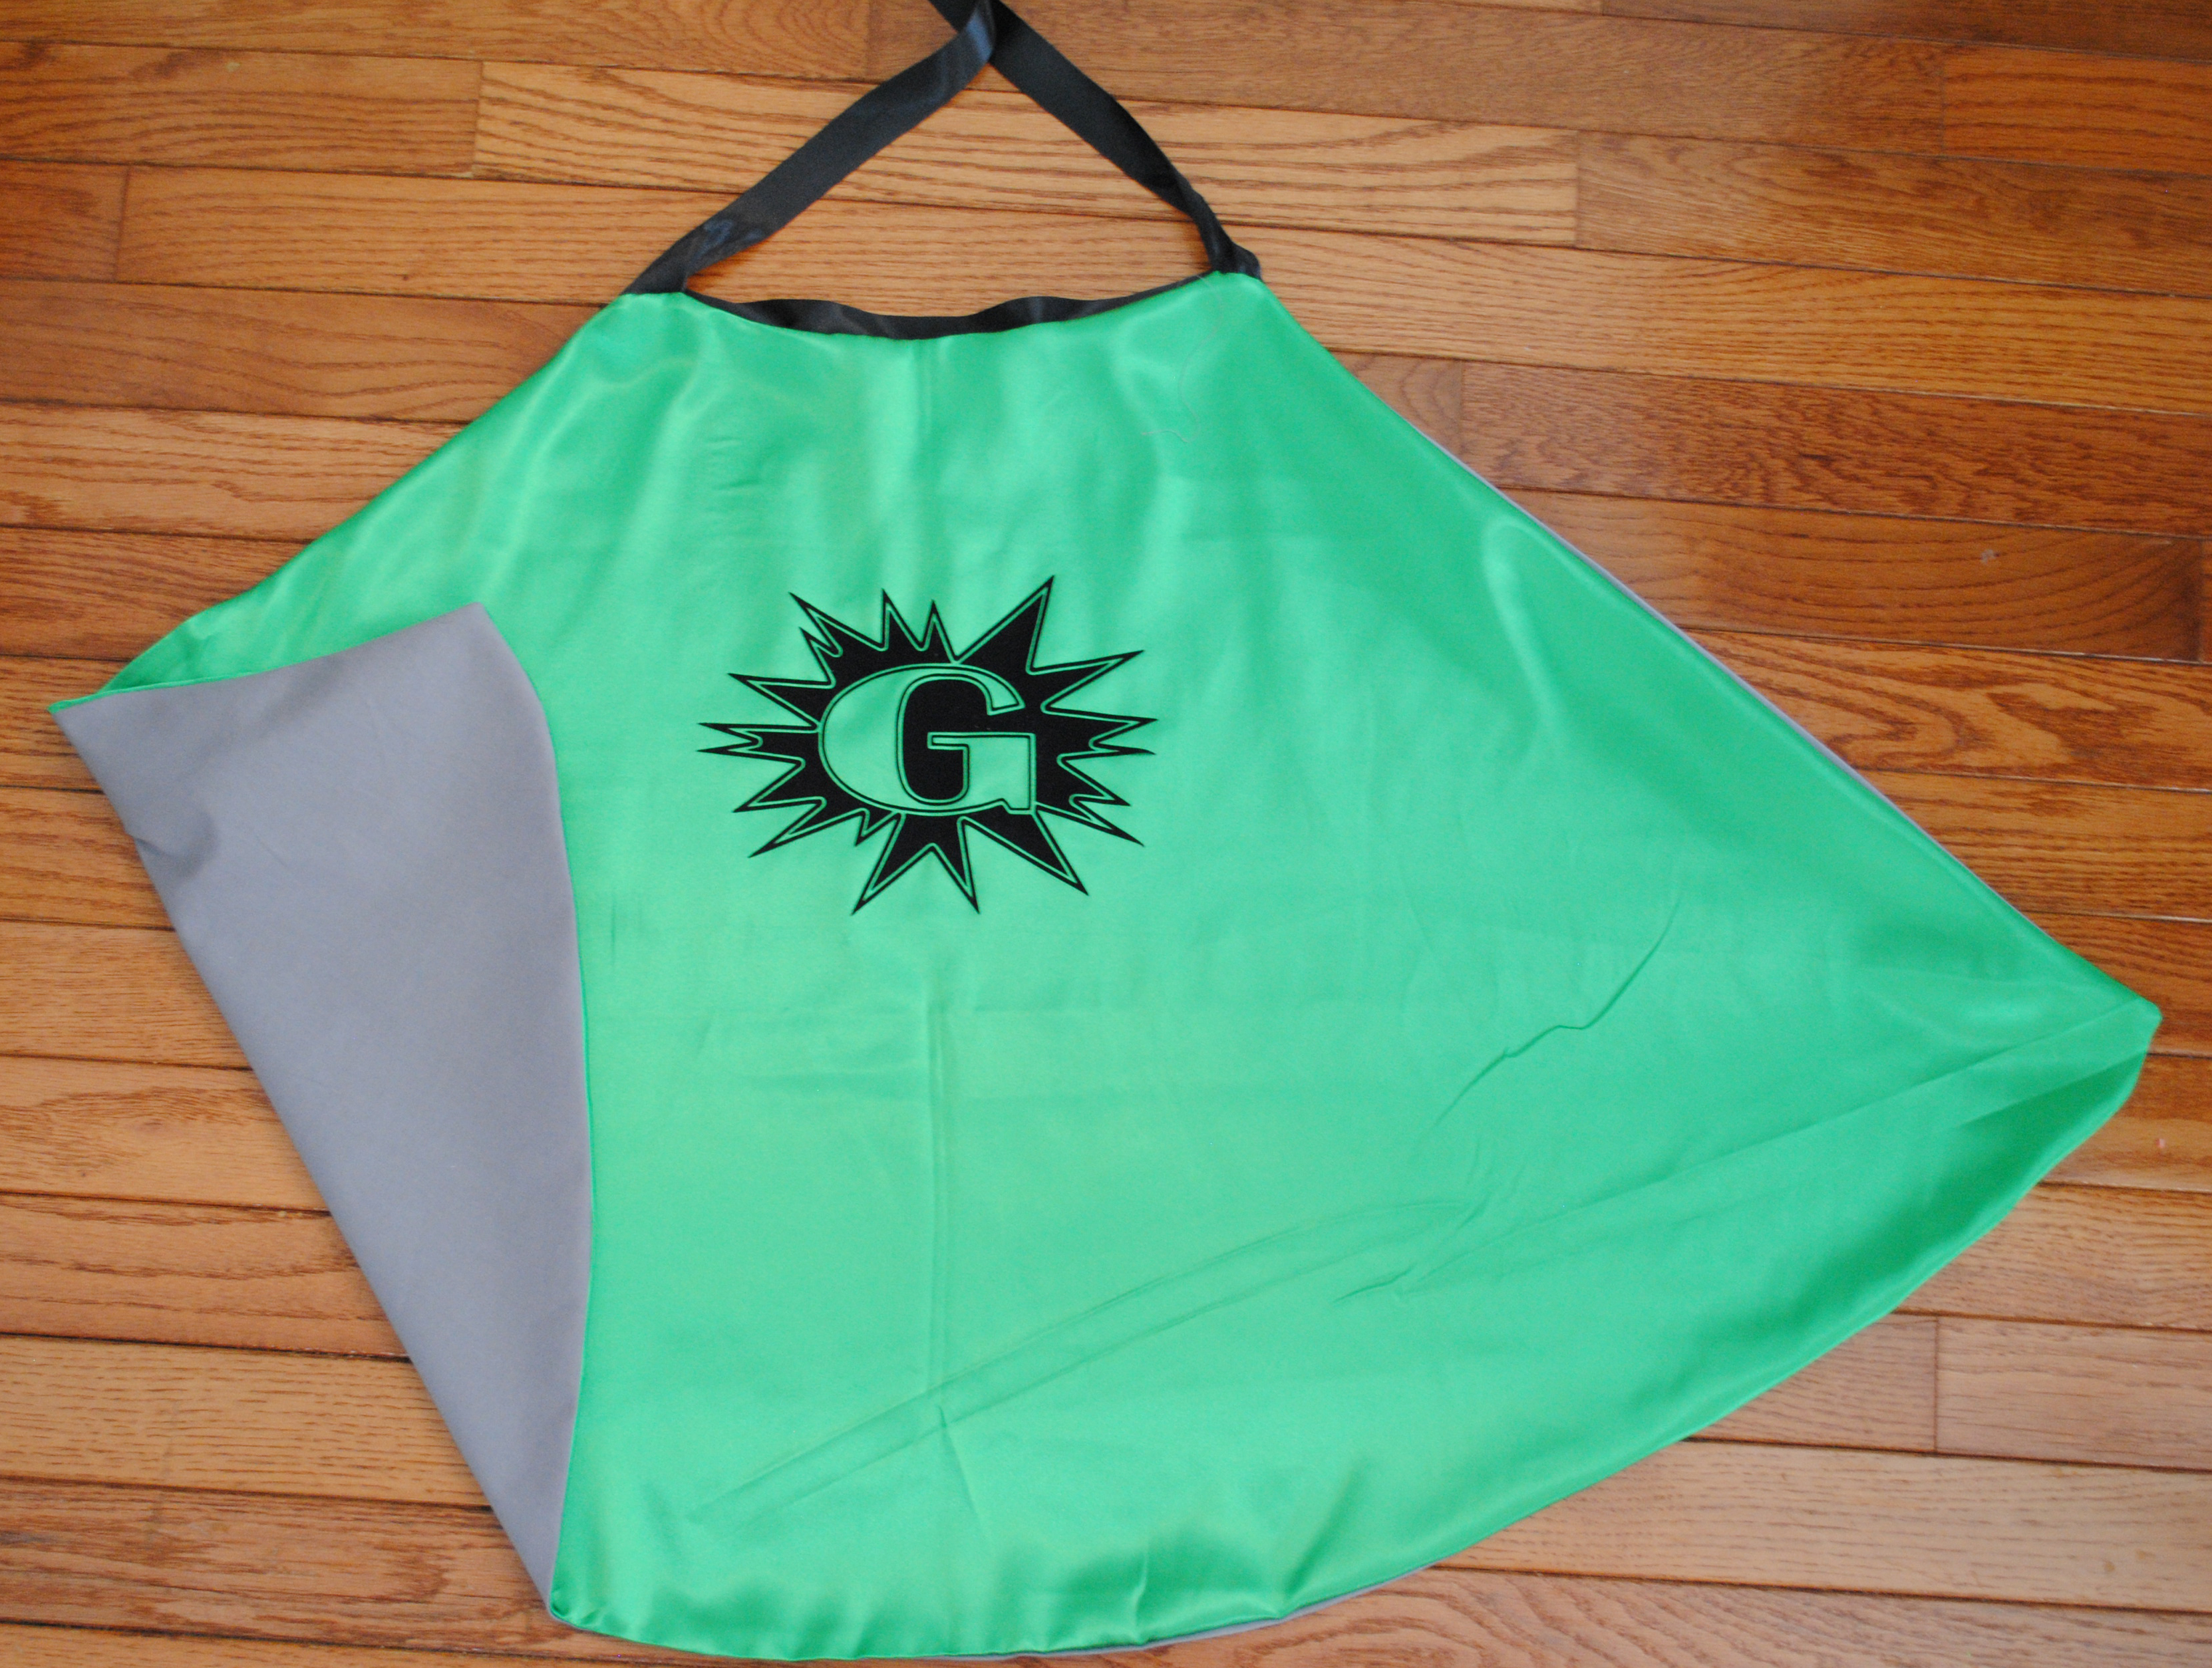
And of course Superhero Greyson!
Seriously if I can do this ANYONE can do this!! Not only was it a fun thing to do during Greyson’s nap time, but Greyson has been getting a lot of use out of them! Are any of you sewers? Where would you rank your skills set?


What did you use for the ties for around the neck?
Ribbon with velcro at the end so it is not tied.
Beginning sew-er here! (Seriously) so you are the pieces together like you would a pillow and then turn it right side out and then iron the edges?
So sorry to ask but I appreciate the help! Making a cosplay and I’ve been dreading this big cape.